Exercises
Subsequent sections will contain various exercises related to their subject areas which will require controlling Bitcoin Core nodes, compiling Bitcoin Core and making changes to the code.
To prepare for this we will begin with the following exercises which will ensure that our environment is ready:
-
Build Bitcoin Core from source
-
Clone Bitcoin Core repository from GitHub
-
Check out the latest release tag (e.g.
v30.2) -
Install any dependencies required for your system
-
Follow the build instructions to compile the programs
-
Run the unit tests
-
Follow the documentation to install dependencies required to run the functional tests
-
Run the functional tests
-
-
Run a
bitcoindnode in regtest mode and control it using theclitool./build/bin/bitcoind -regtestwill start bitcoind in regtest mode. You can then control it using./build/bin/bitcoin-cli -regtest -getinfo -
Run and control a Bitcoin Core node using the
TestShellpython class from the test framework in a Jupyter notebook-
See Running nodes via Test Framework for more information on how to do this
-
-
Review a Pull Request from the repo
-
Find a PR (which can be open or closed) on GitHub which looks interesting and/or accessible
-
Checkout the PR locally
-
Review the changes
-
Record any questions that arise during code review
-
Build the PR
-
Test the PR
-
Break a test / add a new test
-
Leave review feedback on GitHub, possibly including:
ACK/NACK
Approach
How you reviewed it
Your system specifications if relevant
Any suggested nits
-
Why
Using Bitcoin Core’s Test Framework means that nodes can be started, controlled and stopped using a python control class. Additionally, they are run in a temporary directory which is automatically removed by the operating system, if not done manually.
In addition to this, the TestShell class has an extremely similar interface to bitcoin-cli, where most bitcoin-cli commands have an equivalent TestShell method, and arguments can be supplied positionally or as named values. Specifically, all bitcoind RPCs are available to TestShell.
However, certain bitcoin-cli commands, for example -getinfo require bitcoin-cli to call multiple RPCs and combine the results into something more user-friendly. These commands are not natively available to TestShell, but you can re-create them yourself by running multiple TestShell RPCs and combining the outputs to mimic the bitcoin-cli commands!
When TestShell is combined with a jupyter notebook the result is easy-to-setup ephemeral nodes where iteration on complex commands is more pleasant than in the shell, and complex sequences of commands can be reproduced without having to write bash scripts or use shell history.
Once a complex command or sequence of commands is established, they can generally be translated to bitcoin-cli commands or a shell script without much difficulty.
How
You MUST have a compiled bitcoind binary in the Bitcoin Core source directory. You can use any recent supported version of Bitcoin Core.
You MUST have a copy of the jupyter notebook, either manually downloaded from https://github.com/chaincodelabs/onboarding-to-bitcoin-core or by cloning the onboarding-to-bitcoin-core repo (recommended) with:
git clone https://github.com/chaincodelabs/onboarding-to-bitcoin-core.gitYou MAY want to use a python virtual environment (recommended) which can be done as follows when in the onboarding to bitcoin core top level directory:
cd /path/to/source/onboarding-to-bitcoin-core
python3 -m venv "obc-venv"
source obc-venv/bin/activate
if using fish shell you can use: source obc-venv/bin/activate.fish instead |
Once your venv is set up and activated you can install the requirements for jupyter notebook using:
pip install -r requirements.txtNext start the notebook with:
jupyter notebookThis will open a list of all the files in this directory. Opening the file named exercise_tutorial.ipynb will start the notebook containing instructions on how to use TestShell from the test Framework.
When you are finished you can deactivate the venv using
deactivate| Don’t forget to re-activate your venv each time you want to start the Jupyter notebook after deactivating the venv! |
Quick use
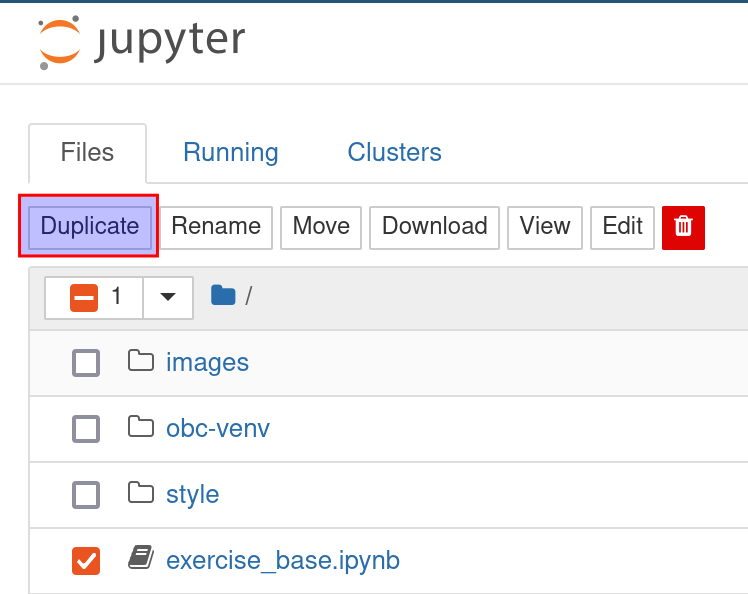
Once you have familiarized yourself with the TestShell method using exercise_tutorial.ipynb, you can instead start new notebooks for exercises based on the exercise_base.ipynb notebook, which has much of the instruction removed and will let you get started faster.
If you correct the import path for your system in this file and save it, you can then easily make copies of it to use as start points for different exercises: